
Tutorial: DIY Website with Wordpress and Bluehost
Aug 30, 2019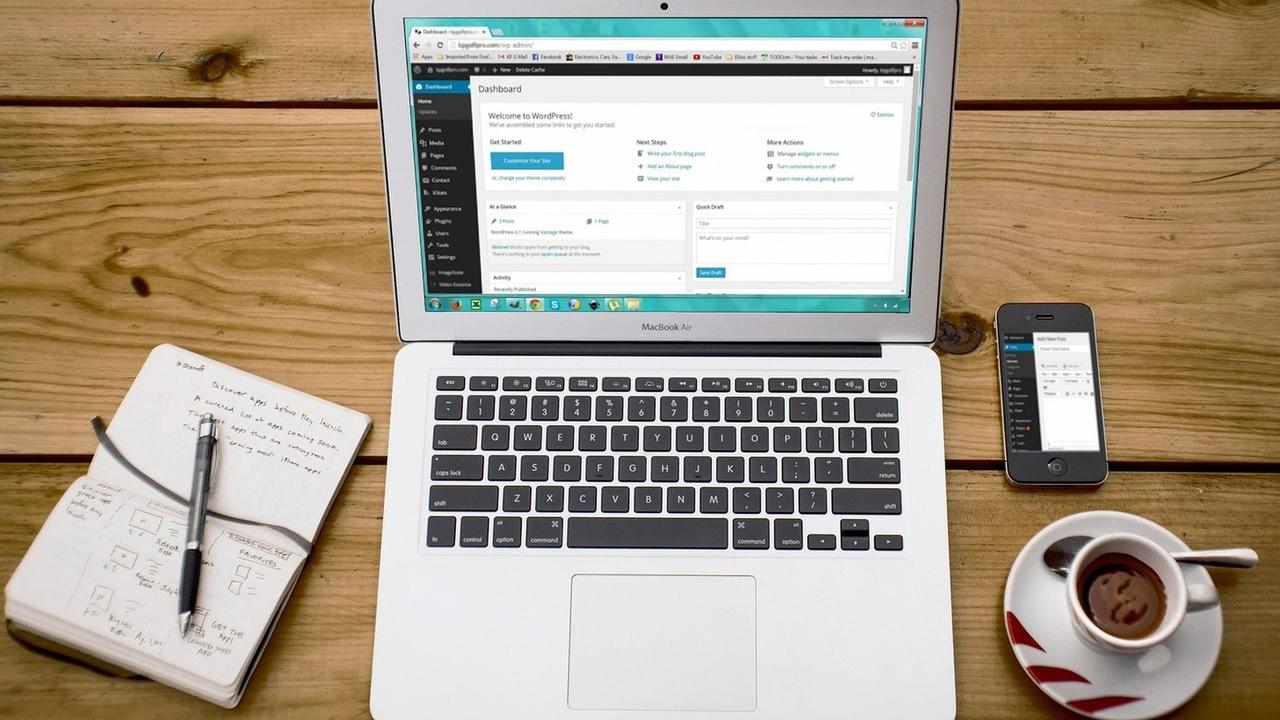
Disclosure: Some of the links below are affiliate links, meaning at no additional cost to you, I will earn a commission if you click through and make a purchase. I never become an affiliate partner with a company or service I don’t use personally or whole-heartedly recommend for specific needs and uses.
Newsflash. Unless you’re an Amazon.com wannabe or super fond of fancy bells and whistles and custom coded moving parts, you don’t need to spend thousands of dollars on your website.
You can build a beautiful, customized and functional WordPress website yourself or you can hire a virtual assistant to do it for you and still save thousands.
Why WordPress?
If you want a basic online presence that looks professional and simply showcases your services, ministry or business information, you can easily customize a template in a DIY website builder like Squarespace or Weebly. I’ve used both of these for kinds of sites and have no complaints.
HOWEVER, if you want a website that will help grow your business (generating income through blogging, an online store or membership site) AND grow with your business, I recommend a self-hosted WordPress site.
With WordPress, you’ll have a wealth of professionally coded premium themes at your disposal to help your WordPress website stand out from the crowd and you’ll also have thousands of plugins to add all kinds of amazing functionality to your website. You’ll also find thousands of WordPress developers, designers and experts who can support your online business endeavors no matter which direction you take your site in the future.
Where to Start
Today, creating your own self-hosted WordPress website it’s not all that hard, though admittedly, it can be overwhelming.
So let me break it down for you.
The four core elements to your own WordPress website are:
- a domain
- a hosting provider
- a WordPress.org account
- a WordPress theme
Those are the only four essential elements to the website building process, but putting them all together can seem pretty tricky at first.
That’s why I use and also recommend Bluehost as your hosting provider. It simplifies and speeds up the the whole process.
Disclosure: As a paying Bluehost customer, the links in this article are my referral links. This means, at no additional cost to you, I will earn a commission if you make a purchase. If this article is helpful to you at all, consider it a way of saying thanks!
You can buy your domain, host your website, install WordPress and manage your website all through the Bluehost portal. You even get a free email address using your domain, which adds more credibility and enhances your branding if you plan on communicating with potential customers and clients frequently by email.
Most plans start at just a few dollars a month (for hosting –– an expense you can't get away from) and come with a free domain, also making Bluehost one of the most affordable options out there.
5-Step Website Building Checklist with Bluehost
So, here we go. Using WordPress and Bluehost, the website building process is easier than you might expect. Once you choose your hosting plan, Bluehost will walk you through the steps and the whole process will come together before your eyes.
Here’s what it looks like:
Step One: Choose Your Hosting Plan at Bluehost.com (the green “get started now” button is where it all begins).
Plus or Choice Plus (previously called Prime) Plans have enough features to grow with your business in the long-term and are what I recommend for most needs.
Choice Plus or Pro Plans include domain privacy, meaning your name, phone number and home address are hidden from those who search for it on sites like Who.is. If you’re a home-based business, I would consider this a must.
The Pro Plan also includes a dedicated SSL certificate and more robust hosting if you have really big plans for your website. It’s also worth considering if you want an easy-to-use site backup solution.
Step Two: Choose Your Free Domain
After choosing your hosting plan, you will see a screen giving you the option to select a free domain or enter a domain you have already purchased either from Bluehost or another hosting provider. Try your best to have a domain with a .com address as those are easier for most people to remember when directly navigating to your URL. If you’re not ready to choose a domain name just yet, you will soon see a pop-up box giving you the option to skip this part for now and choose a domain later. (If you need help brainstorming a domain title for your business, I’m happy to help you with a clarity call.)
Step Three: Finish Your Bluehost Purchase
I’m including three small steps in one because they are essentially one big step. After entering your account information (name, address, email address, etc.), you will need to select a payment package based on the years of service. You can pay for 1, 2, 3 or 5 years upfront. The more years you pay for at once, the more money you save.
After entering and submitting your billing information (you may receive special offers for upgrades here to which you can just say “no thanks”), you will be given an opportunity to create a password. This password is your golden ticket to your very own WordPress site so be sure to write it down!
Step Four: Login to Your WordPress Site — It’s That Easy
After creating your password, Bluehost automatically installs WordPress for you! All you need to do is click the blue “log in” button in the “Congratulations!” window and you will be taken to your WordPress dashboard.
Step Five: Install a Theme and Customize
You will immediately see options for selecting free themes. I would skip that part for now because many free themes don’t have support or aren’t regularly updated. This makes them more susceptible to hackers. Just keep the pre-installed theme until you can choose a premium theme that will fit your needs.
In my experience, this can be the most daunting part of creating your own website.
You can find premium themes through the Mojo Marketplace in your Bluehost account or you can simply do an online search using the terms “premium” and “WordPress themes 2020.” Adding the year in your search terms will bring up several helpful online lists of the most popular and highest rated themes available.
You may also want to consider Elegant Themes which gives you access to several themes and premium plugins including the incredibly popular and versatile Divi Theme. In my experience, there is a slight learning curve when customizing the Divi theme, but there is practically nothing it can’t do.
Next Steps
Until Bluehost finalizes your domain, your website will live on a temporary domain. This time period is usually under 24 hours. After your domain is finalized, you’ll want to change your domain from an http URL to an https URL. That extra “s” comes from your free SSL certificate and gives your visitors peace of mind.
To do this, log into Bluehost, click on the “My Sites” section in the left sidebar to Manage Your Site. Under “Manage Your Site”, go under the “Security” tab and toggle the Security Certificate switch to “on.”
Not ready for Wordpress? The Free Website Guys build basic, but beautiful sites for free. No strings attached and they accept nearly half of those who apply. They told me that chance increases if you use my affiliate link so here's that.
Ready to invest in an all-in-one solution for online course creators, coaches and membership site owners? I use Kajabi and wholeheartedly recommend it.


